Analogue photography: Your starter guide
Analog photography has made an impressive comeback in recent years – and for good reason. It gives images a unique aesthetic and slows down the entire photography process. But how do you get started in the world of analog photography? Don’t worry, we’ll guide you step by step through the basics and share tips to help you begin your analog journey.
Unlike digital photography, analog photography relies on film – a light-sensitive material that captures images when exposed. While digital cameras instantly store data as files, analog cameras produce a negative that must later be developed in a lab.
A negative displays the image in reversed colors and light values. Once developed and scanned, it becomes a positive, or the final photograph.
The first question for beginners is: which camera is best for getting started? For those new to analog photography, point-and-shoot cameras are a great choice. These compact cameras are easy to use and often come with automatic settings. Recommended models include the Olympus mju-II or Canon SureShot.
If you’re feeling more adventurous, you might want to try a single-lens reflex (SLR) camera like the Canon AE-1 or Nikon FM2. SLR cameras offer interchangeable lenses and manual controls, allowing you to adjust aperture, shutter speed, and focus—perfect for mastering photography fundamentals.
Now all you need is the right film to start shooting. The choice of film depends on your subject and lighting conditions. Perfect for bright, sunny days and natural colors is the well-known Kodak Gold 200. The film Ilford HP5 Plus 400 is a versatile black-and-white film that also delivers great results in low light. Finally, Fujifilm C200 is a great budget-friendly all-rounder for beginners. One important factor when purchasing your first film is the ISO value. ISO determines the film’s light sensitivity. Low values (e.g., ISO 100) are ideal for bright lighting conditions, while high values (e.g., ISO 400 or ISO 800) work better for darker environments. It’s best to start with films that have ISO values between 200 and 400, as they provide flexibility in various lighting conditions.
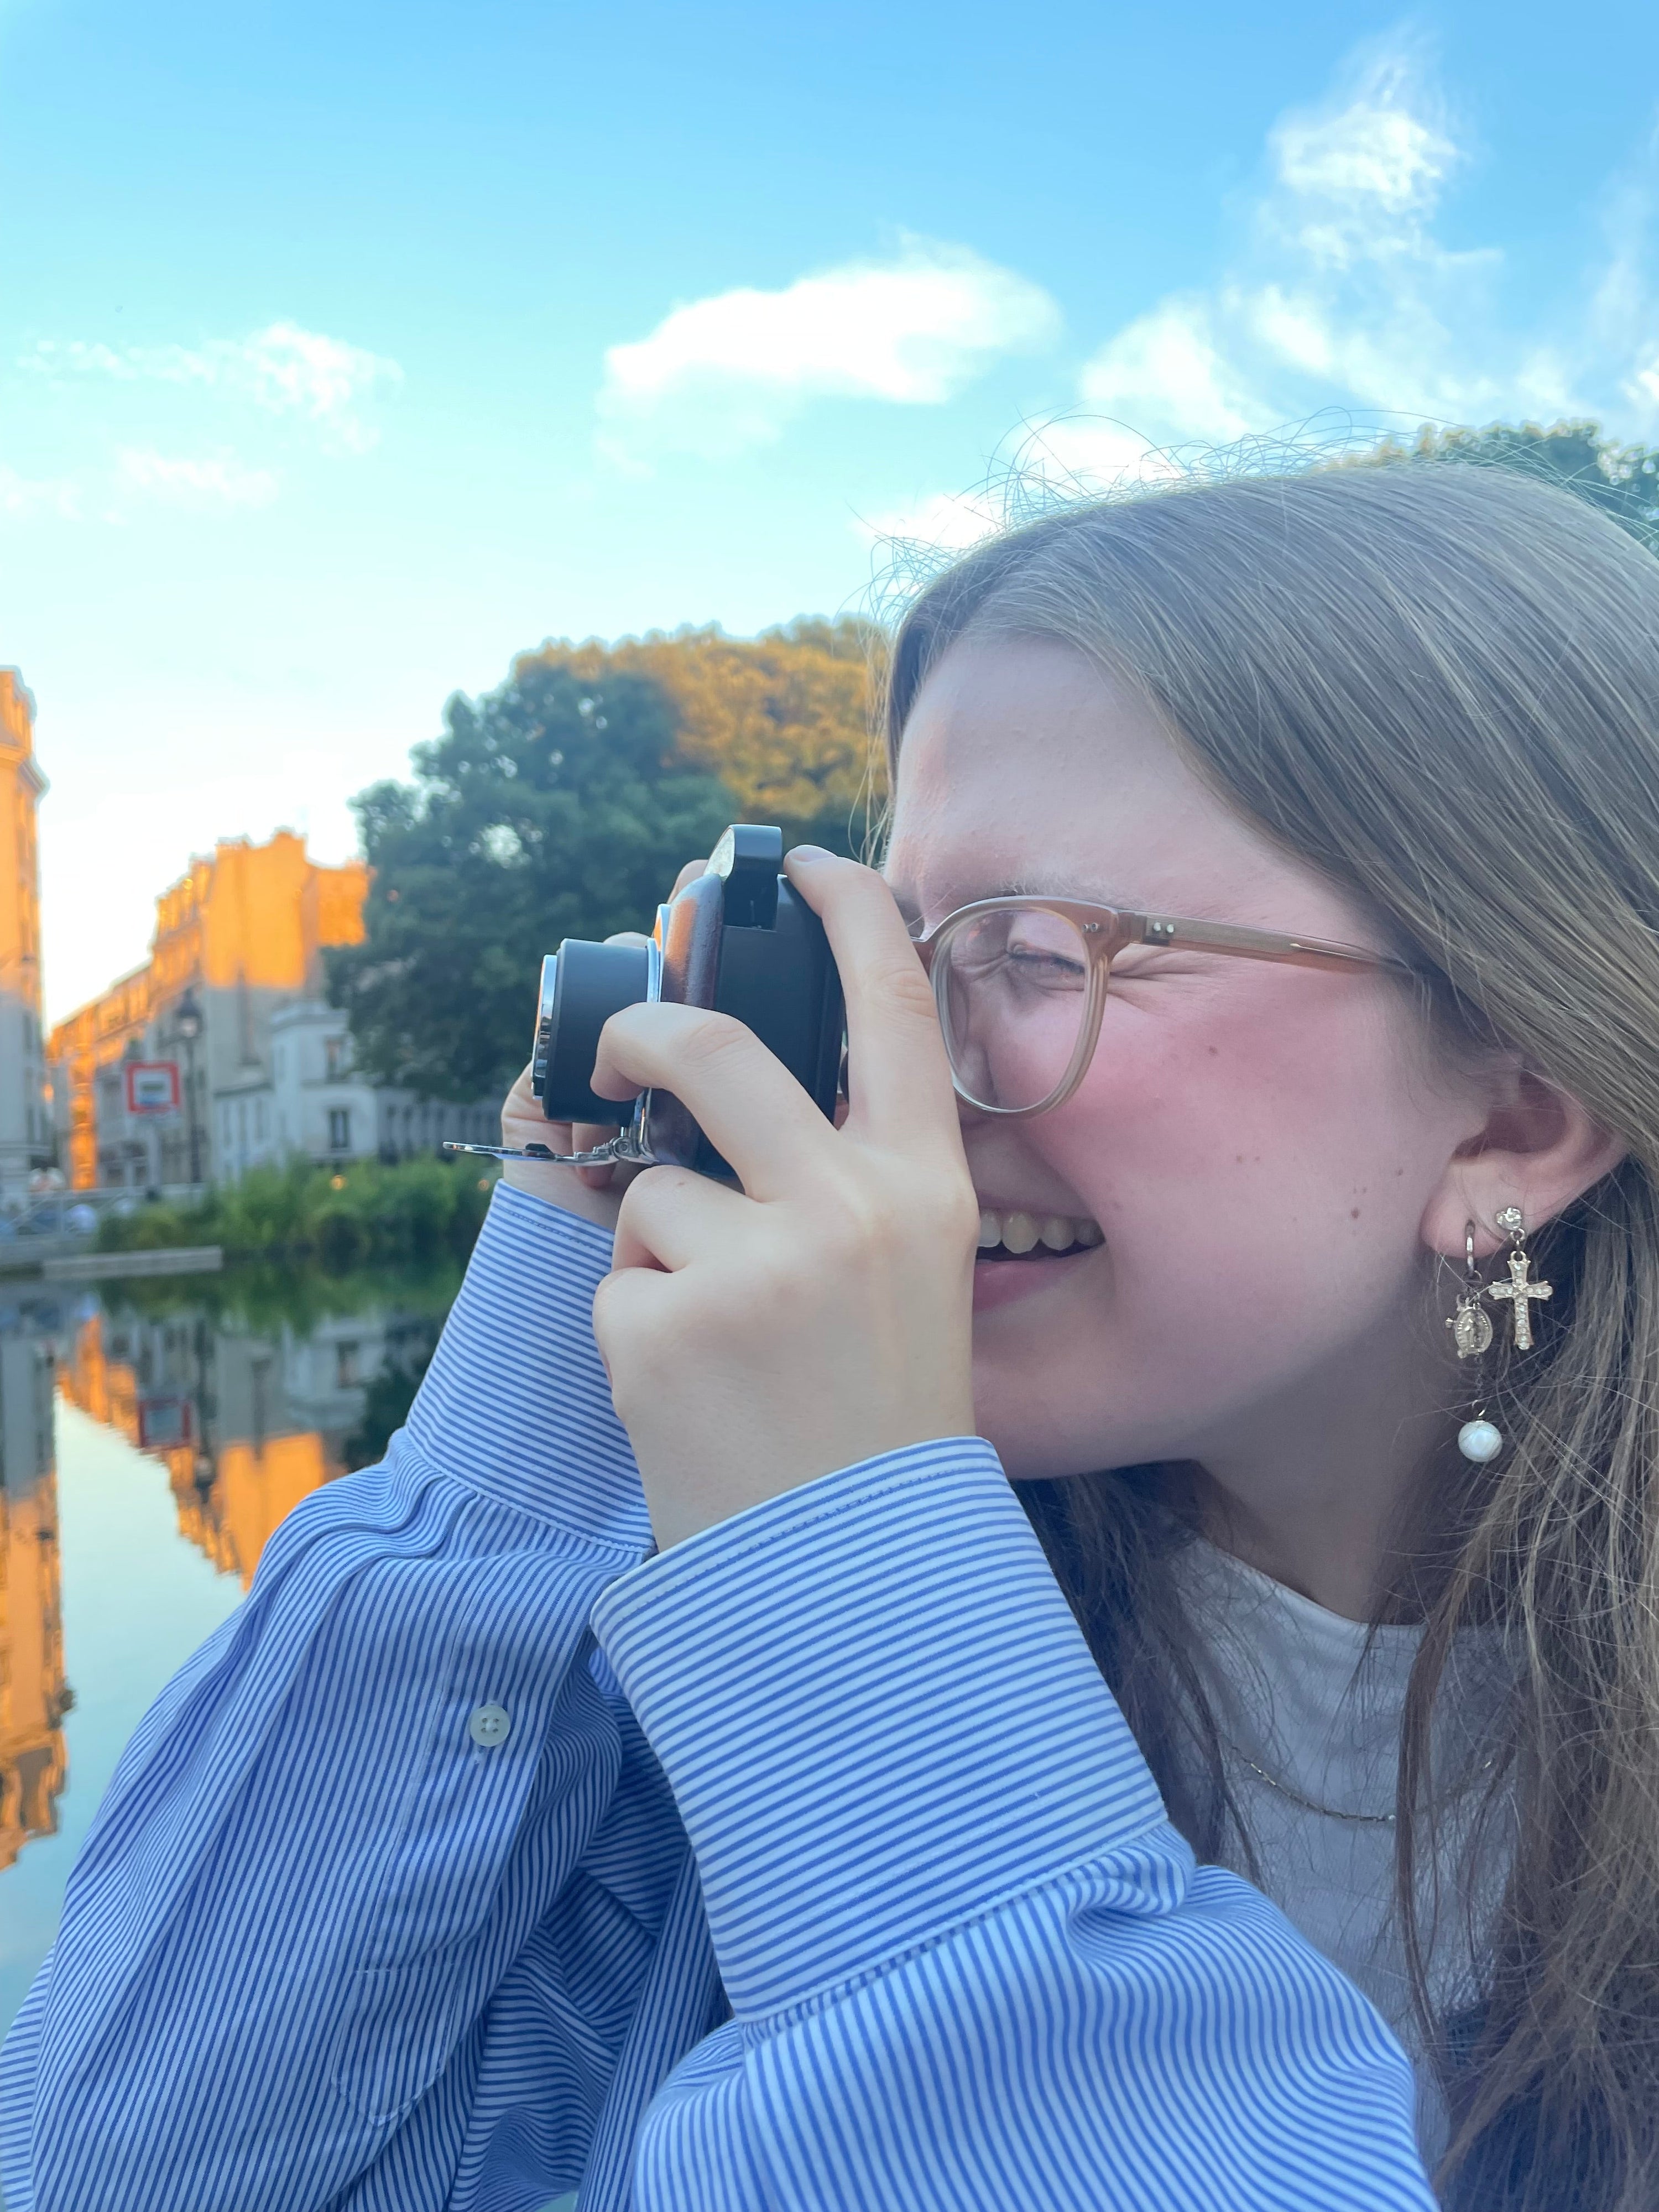
Once you've bought your first camera, it’s important to familiarize yourself with its functions and layout. Take time to carefully read the manual, reach out to your film lab if you have any doubts, and connect with the analog community. Properly loading the film, understanding the effects of light and depth of field, and adjusting for different lighting conditions: every camera has its own unique characteristics, making a solid understanding and confident handling of your analog camera essential for achieving the best results.
Now everything is set, and nothing stands in the way of taking your first analog photo. While there are many things to keep in mind, and mistakes can happen that might unexpectedly alter the final results, you should never lose the joy and emotion that analog photography brings. Analog photography may seem complicated at first, but don’t let that discourage you—that’s exactly what makes it so special. The journey from purchasing your camera to taking your first photo sharpens your eye for detail and turns every image into a work of art. If something goes wrong, that’s okay. Be bold, experiment, and if you have any questions, don’t hesitate to reach out. We develop your films professionally, support you with any concerns, and are always happy to assist you.
Feeling inspired to get started? Then come on! Explore our website and let’s dive together into the depths of the analog world.
This article was written by Marlena Brill.